We allow advertising on this website to support the blog. AI has been used responsibly to create and enhance a small number of visual effects. As an Amazon Associate, I earn from qualifying purchases at no extra cost to you.
Imagine stepping into a small sanctuary of calm within your own home or yard.
A Zen garden, with its meticulous design and minimalist aesthetics, offers a peaceful retreat where you can pause and reconnect with nature.
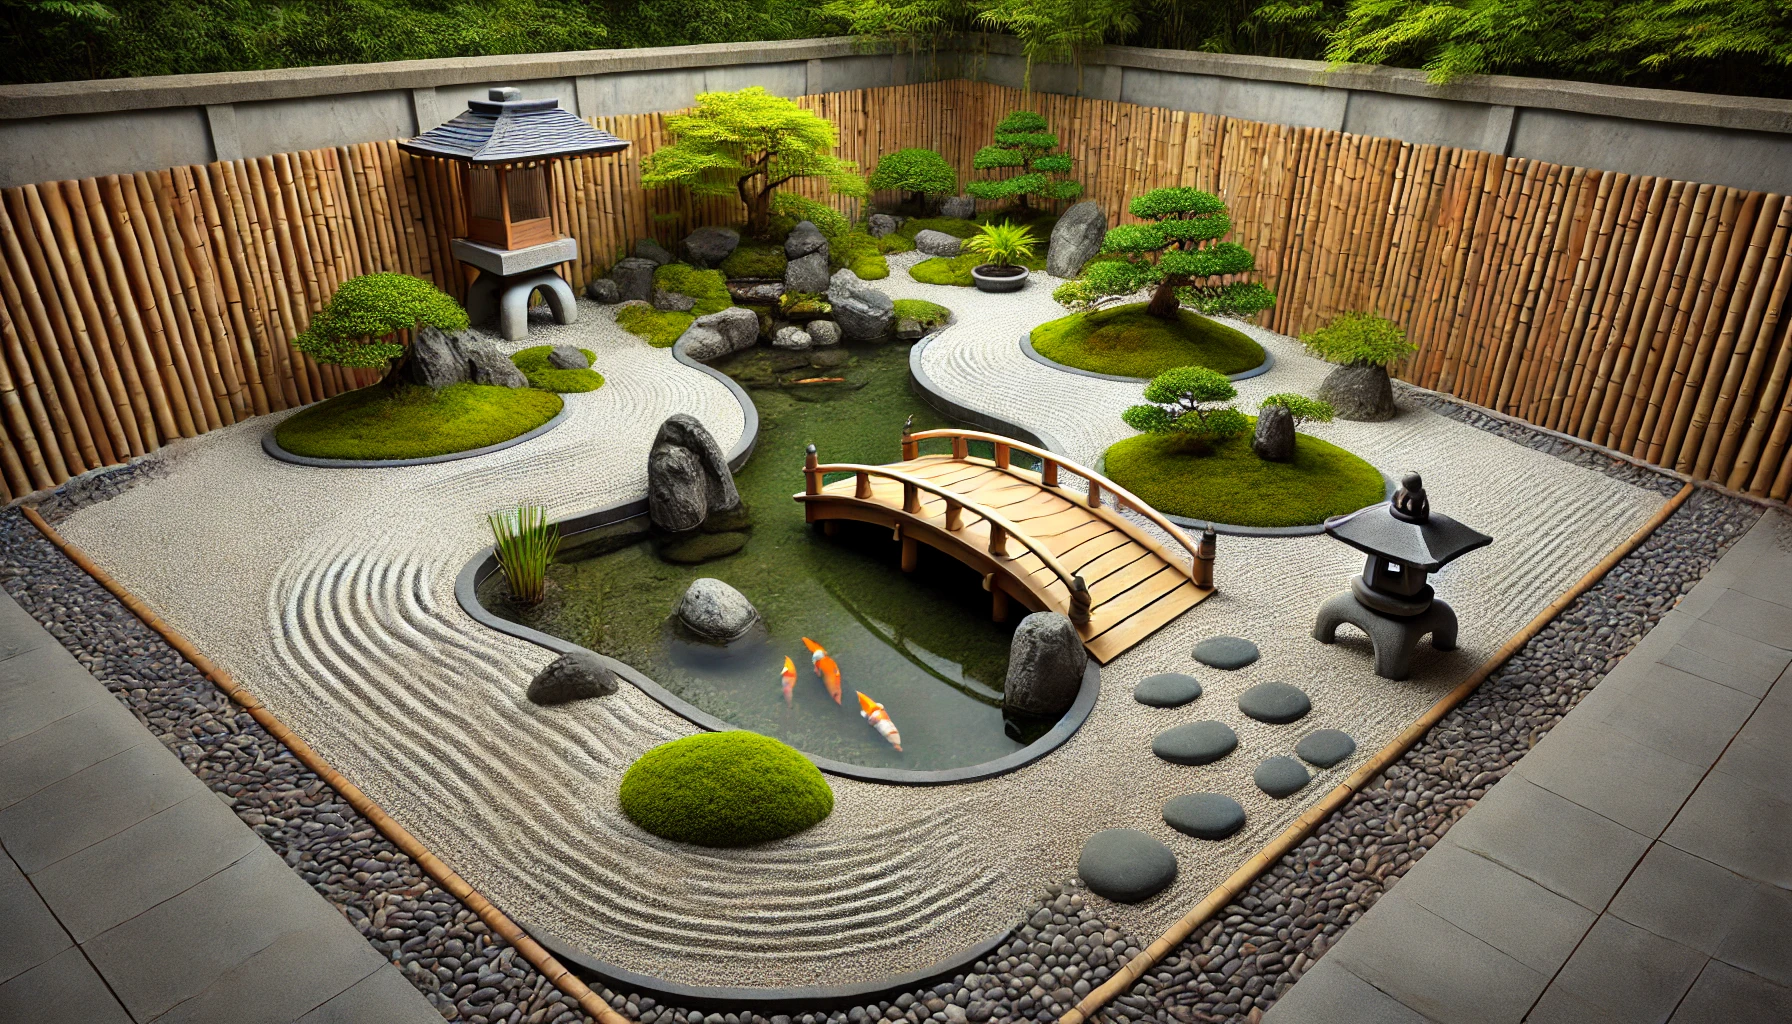
Whether you have a tiny balcony or a corner in your backyard, crafting a Japanese-style Zen garden can bring tranquility and beauty to your space without breaking the bank.
This guide will show you how to create your own oasis step by step, using affordable and easily accessible materials.
Step 1: Plan Your Zen Garden
- Define Your Purpose: Decide whether your Zen garden will be for meditation, decoration, or relaxation.
- Choose the Location: Select a quiet corner in your yard, balcony, or indoor space.
- Measure the Area: Determine the size and shape of your garden to fit the space and your budget.
- Sketch Your Design: Draw a layout that includes elements like rocks, sand, gravel, plants, and ornaments.
Step 2: Gather Affordable Materials
- Gravel or Sand: Purchase a bag of white or beige sand/gravel from a local garden center.
- Budget Tip: Look for discounted materials at landscaping suppliers.
- Stones: Collect smooth, natural stones of varying sizes from your yard or local beach.
- Bamboo Fencing (Optional): Use inexpensive bamboo panels or create a border with wooden stakes.
- Plants: Use affordable greenery like moss, succulents, or bonsai replicas.
- Ornaments: Include DIY or budget-friendly alternatives to traditional stone lanterns or wooden bridges.
Step 3: Prepare the Space
- Clear the Area: Remove weeds, grass, or debris.
- Level the Ground: Use a rake to create an even surface for sand or gravel.
- Add a Base Layer: Lay down landscaping fabric to prevent weeds and maintain a clean design.
Step 4: Create the Layout
- Spread the Sand or Gravel: Evenly distribute the material over the landscaping fabric.
- Place Stones Strategically: Arrange rocks in asymmetrical patterns to mimic natural landscapes.
- Tip: Use larger rocks as focal points and smaller ones for balance.
- Add Pathways (Optional): Use stepping stones or small wood planks to create walkable paths.
Step 5: Add Decorative Elements
- Introduce Greenery: Position plants like moss patches or potted bonsais around the space.
- Install a Water Feature (Optional): Add a small, solar-powered fountain or a bowl of water.
- Incorporate Ornaments: Place a small stone lantern or a DIY wooden bench for authenticity.
Step 6: Rake Patterns
- Select a Rake: Use a small garden rake or create one from wooden dowels.
- Design Patterns: Gently rake the sand or gravel into wave-like or circular patterns to symbolize water.
- Adjust as Needed: Re-rake the patterns regularly to maintain the tranquil appearance.
Step 7: Maintain Your Zen Garden
- Clean Regularly: Remove debris like leaves or twigs to keep the garden pristine.
- Refresh Materials: Replace sand or gravel as needed and trim plants to prevent overgrowth.
- Update the Design: Rearrange rocks and patterns occasionally for variety.
Budget Tips for Affordability
- Repurpose Materials: Use items you already have, like old wood for a bench or stones from your yard.
- DIY Elements: Create your own lanterns, rakes, or bamboo accents.
- Shop Secondhand: Check thrift stores or online marketplaces for affordable garden decorations.
By following these steps, you can create a beautiful and tranquil Japanese-style Zen garden without overspending.


