We allow advertising on this website to support the blog. Some of content on this website was created with the help of AI.
When repotting a Cotoneaster bonsai with a split trunk, one must approach the process with care and precision to ensure the tree’s health and stability. This guide will provide essential steps and tips on how to successfully repot a Cotoneaster bonsai with a split trunk, helping enthusiasts nurture these beautiful trees effectively.
How to Repot a Cotoneaster Bonsai with a Split Trunk 🌳
Introduction
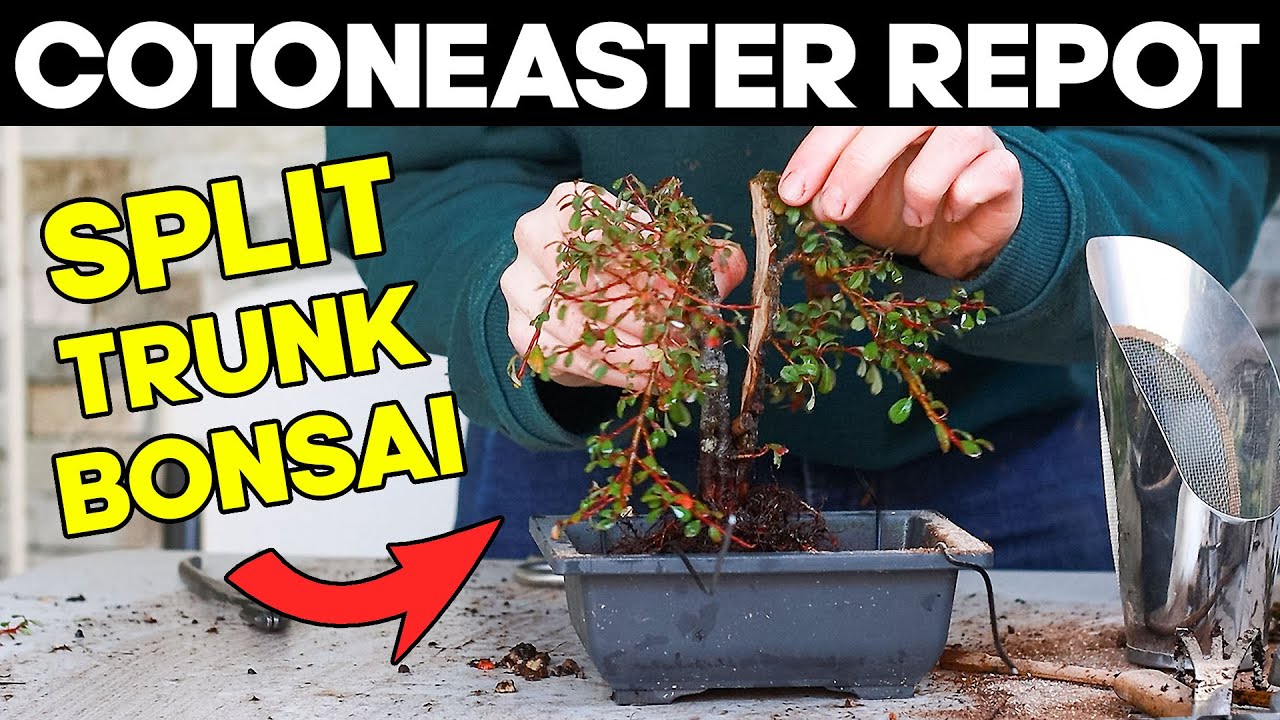
Notion Bonsai, a popular YouTube channel among bonsai enthusiasts, recently released an insightful episode featuring the delicate art of repotting a Cotoneaster Bonsai with a split trunk. This tutorial showcases the meticulous process of rejuvenating these beautiful trees by working on their intricate root systems. Let’s delve into the details of this engaging video and uncover the secrets to successfully repotting a Cotoneaster Bonsai.
Understanding the Cotoneaster Bonsai
The Cotoneaster Bonsai is known for its exquisite winter leaves and unique split trunk structure, making it a favorite among bonsai artists worldwide.
The Importance of Repotting
Regular repotting is crucial for the overall health and growth of bonsai trees. It allows for root maintenance, soil replenishment, and improved stability in the long run.
Tools of the Trade
To repot the Cotoneaster Bonsai effectively, specialized tools such as root pruning shears and wire cutters are essential for the process.
Step-by-Step Guide to Repotting a Cotoneaster Bonsai
-
Preparation:
- Ensure you have all the necessary tools and materials ready.
- Select a suitable pot for repotting.
-
Root Pruning:
- Gently remove the tree from its current pot.
- Use root pruning shears to trim excess roots in a radial pattern for enhanced stability.
-
Soil Work:
- Remove old soil from the roots to expose the nebari (surface roots).
- Ensure the roots are well-aerated for optimal growth.
-
Balancing Act:
- Trim the roots to maintain a balanced design.
- Use wire cutters to adjust any elevated roots that may disrupt the aesthetic appeal.
-
Final Touches:
- Repot the Cotoneaster Bonsai into a fresh pot with well-draining soil.
- Water the tree adequately and place it in a suitable location for optimal growth.
Conclusion
In conclusion, repotting a Cotoneaster Bonsai with a split trunk is a meticulous yet rewarding process that requires attention to detail and expertise. Notion Bonsai’s tutorial provides invaluable insights into the art of bonsai care, emphasizing the importance of root maintenance and stability for the tree’s overall health. By following the steps outlined in the video, bonsai enthusiasts can nurture their Cotoneaster Bonsai to thrive and flourish in their miniature world.
FAQs
-
How often should I repot my Cotoneaster Bonsai?
Repotting is recommended every two years to ensure the tree’s continued growth and health. -
Why is root pruning important during repotting?
Root pruning helps maintain the tree’s compact size, enhances stability, and promotes healthy root growth. -
Can I repot my Cotoneaster Bonsai in any season?
It is best to repot your bonsai tree in early spring or late winter before the growing season begins. -
What should I do if I notice root rot during repotting?
If you encounter root rot, carefully trim away the affected roots and treat the tree with a suitable fungicide. -
How can I ensure proper aftercare post-repotting?
After repotting, monitor the tree’s moisture levels, provide adequate sunlight, and avoid fertilizing immediately to allow the roots to settle in the new soil.


