
Chocolate truffles: the name alone evokes images of elegance, indulgence, and that first melt-in-your-mouth bite. These little bites of heaven are the perfect way to impress at a dinner party, celebrate a special occasion, or simply treat yourself to something extraordinary.
But here’s the thing—making chocolate truffles at home is far easier than it sounds.
You don’t need to be a professional chocolatier or have fancy equipment to pull this off. With just a handful of ingredients and a little patience, you can create rich, silky, and irresistibly delicious truffles.
Ready to wow yourself and everyone else? Let’s get started!
1. Start with High-Quality Chocolate
The star of any truffle is, of course, the chocolate. Opt for high-quality chocolate with at least 70% cocoa for a rich, bold flavor. Avoid chocolate chips as they often contain stabilizers that can affect the texture of your ganache. Instead, choose chocolate bars or couverture chocolate, which melts more smoothly and yields a silky result.
Chop the chocolate finely before melting. This ensures even melting and makes the ganache perfectly smooth. Whether you prefer dark, milk, or even white chocolate, the key is using the best you can find—you’ll taste the difference!
- Pro Tip: Mix dark and milk chocolate for a balanced sweetness and depth of flavor.
- Optional: Add a pinch of sea salt to enhance the chocolate's flavor profile.
2. Make the Ganache
The heart of a chocolate truffle is its ganache center. Ganache is a simple mixture of chocolate and cream, and getting it just right is key to truffle perfection. Heat heavy cream in a saucepan until it’s just steaming (not boiling). Pour the hot cream over the chopped chocolate and let it sit for a minute to soften.
Gently stir the mixture until smooth and glossy. At this stage, you can infuse the ganache with flavors like vanilla, coffee, or liqueurs such as Grand Marnier or Baileys. Cover the bowl with plastic wrap and chill the ganache in the refrigerator for 1–2 hours until firm enough to scoop.
- Tip: If the ganache splits or looks grainy, add a splash of warm cream and stir until smooth.
- Bonus: Infuse the cream with herbs or spices like cinnamon or mint leaves before mixing with the chocolate for unique flavors.
3. Shape the Truffles
Once the ganache has firmed up, it’s time to shape your truffles. Use a small cookie scoop or a teaspoon to portion out the ganache. Roll the portions between your palms to create smooth, round balls. Don’t worry if they’re not perfectly even—imperfections add to their charm!
If the ganache becomes too soft while rolling, pop it back in the fridge for a few minutes to firm up again. This step can get a little messy, but that’s part of the fun. Once shaped, place the truffles on a baking sheet lined with parchment paper and chill again for 15–20 minutes before coating.
- Pro Tip: Dust your hands with cocoa powder to prevent sticking while rolling the ganache.
- Optional: Use a melon baller for perfectly uniform truffles.
4. Coat and Decorate
Now comes the creative part: coating and decorating your truffles. The classic option is to roll them in cocoa powder, but you can also dip them in melted chocolate for a glossy finish. Roll the truffles in finely chopped nuts, shredded coconut, or colorful sprinkles for variety and texture.
If dipping in melted chocolate, use a fork to gently lift each truffle and let the excess drip off before placing it on a parchment-lined tray. Let the chocolate set completely, either at room temperature or in the fridge, before serving. The result? Gourmet-worthy truffles that look as incredible as they taste.
- Tip: Sprinkle flaky sea salt on top of chocolate-coated truffles for a sophisticated touch.
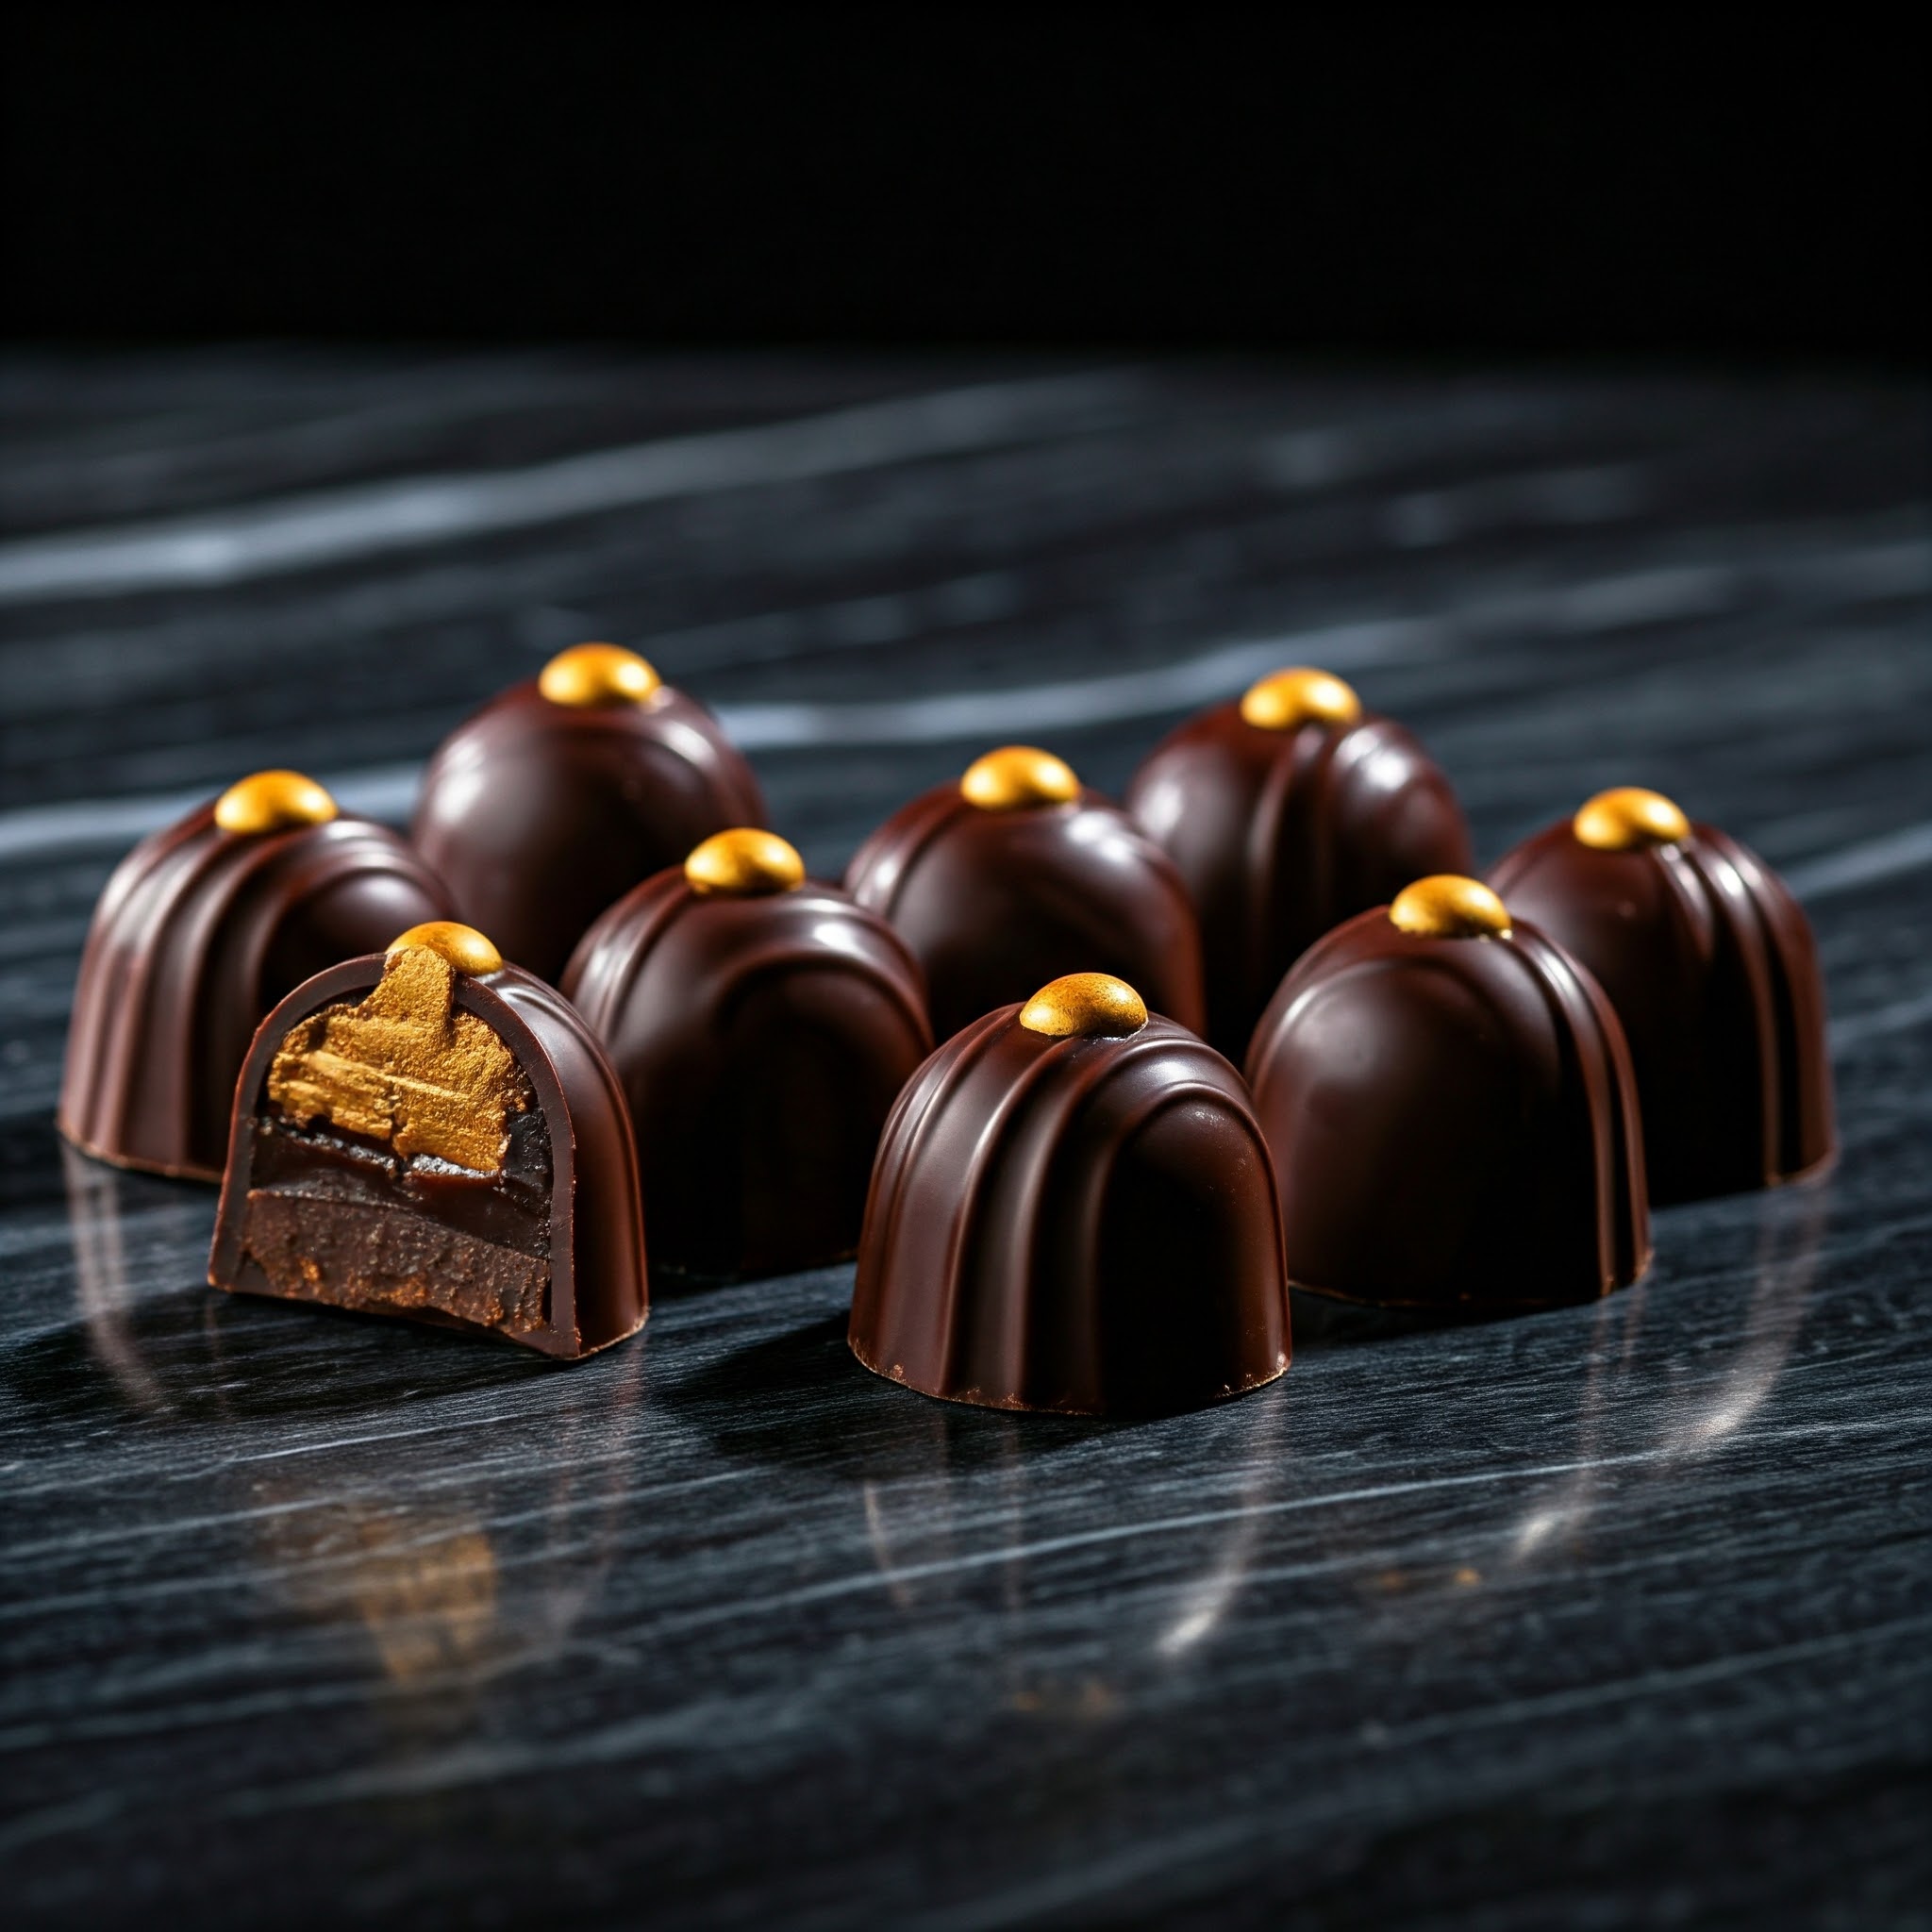
- Optional: Add edible gold leaf for an ultra-luxe presentation.
5. Serve and Store
When it’s time to serve, present your truffles in a beautiful box, bowl, or platter to make them feel extra special. These truffles are perfect for gifting, entertaining, or indulging yourself. Pair them with a glass of wine, a hot espresso, or enjoy them all on their own.
To store, keep your truffles in an airtight container in the refrigerator for up to two weeks. Let them sit at room temperature for a few minutes before serving to bring out their full flavor and creamy texture. For longer storage, freeze them in an airtight container for up to three months.
“Chocolate truffles are little bites of luxury, handmade with love.”
Melt-in-Your-Mouth Chocolate Truffles
Looking for an indulgent treat that feels straight out of a gourmet chocolatier’s shop? These homemade chocolate truffles are so dreamy and smooth, you’ll want to hide them away for yourself. Grab your apron, and let’s dive in!
Ingredients
- 8 oz (225 g) high-quality chocolate, finely chopped (semi-sweet or dark)
- ½ cup (120 ml) heavy cream
- 2 tablespoons unsalted butter (room temperature)
- ¼ teaspoon salt
- 1 teaspoon vanilla extract (or a splash of your favorite liqueur, like Baileys or Grand Marnier)
Coatings (Choose Your Faves)
- Cocoa powder (classic choice)
- Finely chopped nuts (pistachios, almonds, hazelnuts)
- Shredded coconut
- Chocolate sprinkles or crushed cookies
Instructions
- Heat the Cream
- In a small saucepan, gently warm the heavy cream over medium-low heat.
- Just when it’s about to simmer (tiny bubbles around the edges), remove it from the heat.
- Melt the Chocolate
- Place the chopped chocolate in a heatproof bowl.
- Pour the warm cream over the chocolate and let it sit for 1–2 minutes to soften.
- Stir Until Smooth
- Using a whisk or rubber spatula, stir the cream and chocolate until completely melted and glossy.
- Add the butter, salt, and vanilla extract (or liqueur). Stir until well combined.
- Chill the Ganache
- Cover the bowl with plastic wrap and refrigerate the mixture for 2–3 hours (or until firm enough to scoop).
- If you’re short on time, pop it in the freezer for about 30 minutes, stirring halfway through.
- Form the Truffles
- Once the ganache is firm, use a small cookie scoop or teaspoon to portion out bite-sized balls.
- Roll the mixture quickly between your palms to form smooth spheres (your hands might get a little chocolatey, but that’s half the fun!).
- Coat & Decorate
- Roll each truffle in your desired coating (cocoa powder, nuts, coconut, sprinkles, etc.).
- Place them on a tray or plate lined with parchment paper.
- If they get too soft while rolling, pop them back in the fridge for a few minutes before continuing.
- Store & Serve
- Keep your truffles in an airtight container in the refrigerator for up to 2 weeks.
- Serve them slightly chilled or at room temperature for the ultimate melt-in-your-mouth experience.
Tips & Flavor Twists
- Spice It Up: Stir in a pinch of cayenne pepper for a subtle kick.
- Mocha Magic: Dissolve 1 teaspoon of instant espresso powder into the warm cream for a mocha truffle.
- Salted Caramel Variation: Add a teaspoon of caramel sauce and a sprinkle of flaky sea salt on top.
Congratulations—you’ve just mastered the art of making *Chocolate Truffles*! These little confections prove that simple ingredients can create extraordinary results. From the silky ganache to the customizable coatings, every step of this process is an opportunity to unleash your creativity and indulge your love of chocolate.
Whether you’re gifting them to loved ones, sharing them at a party, or enjoying them yourself, these truffles are guaranteed to impress. So, grab your apron, some quality chocolate, and start rolling! Don’t forget to share your creations and let me know your favorite flavor combinations in the comments below. Happy truffle-making!