
A dessert so decadent, it combines the best of two beloved classics—Boston Cream Pie and cheesecake—into one sensational treat. Sounds too good to be true? Think again!
This easy-to-make recipe is the perfect fusion of creamy cheesecake, a crispy biscuit base, and rich chocolate ganache. Whether you're hosting a dinner party or craving a show-stopping treat for the family, this Boston Cream Pie Cheesecake is sure to steal the spotlight. Ready to learn how to make this dreamy dessert?
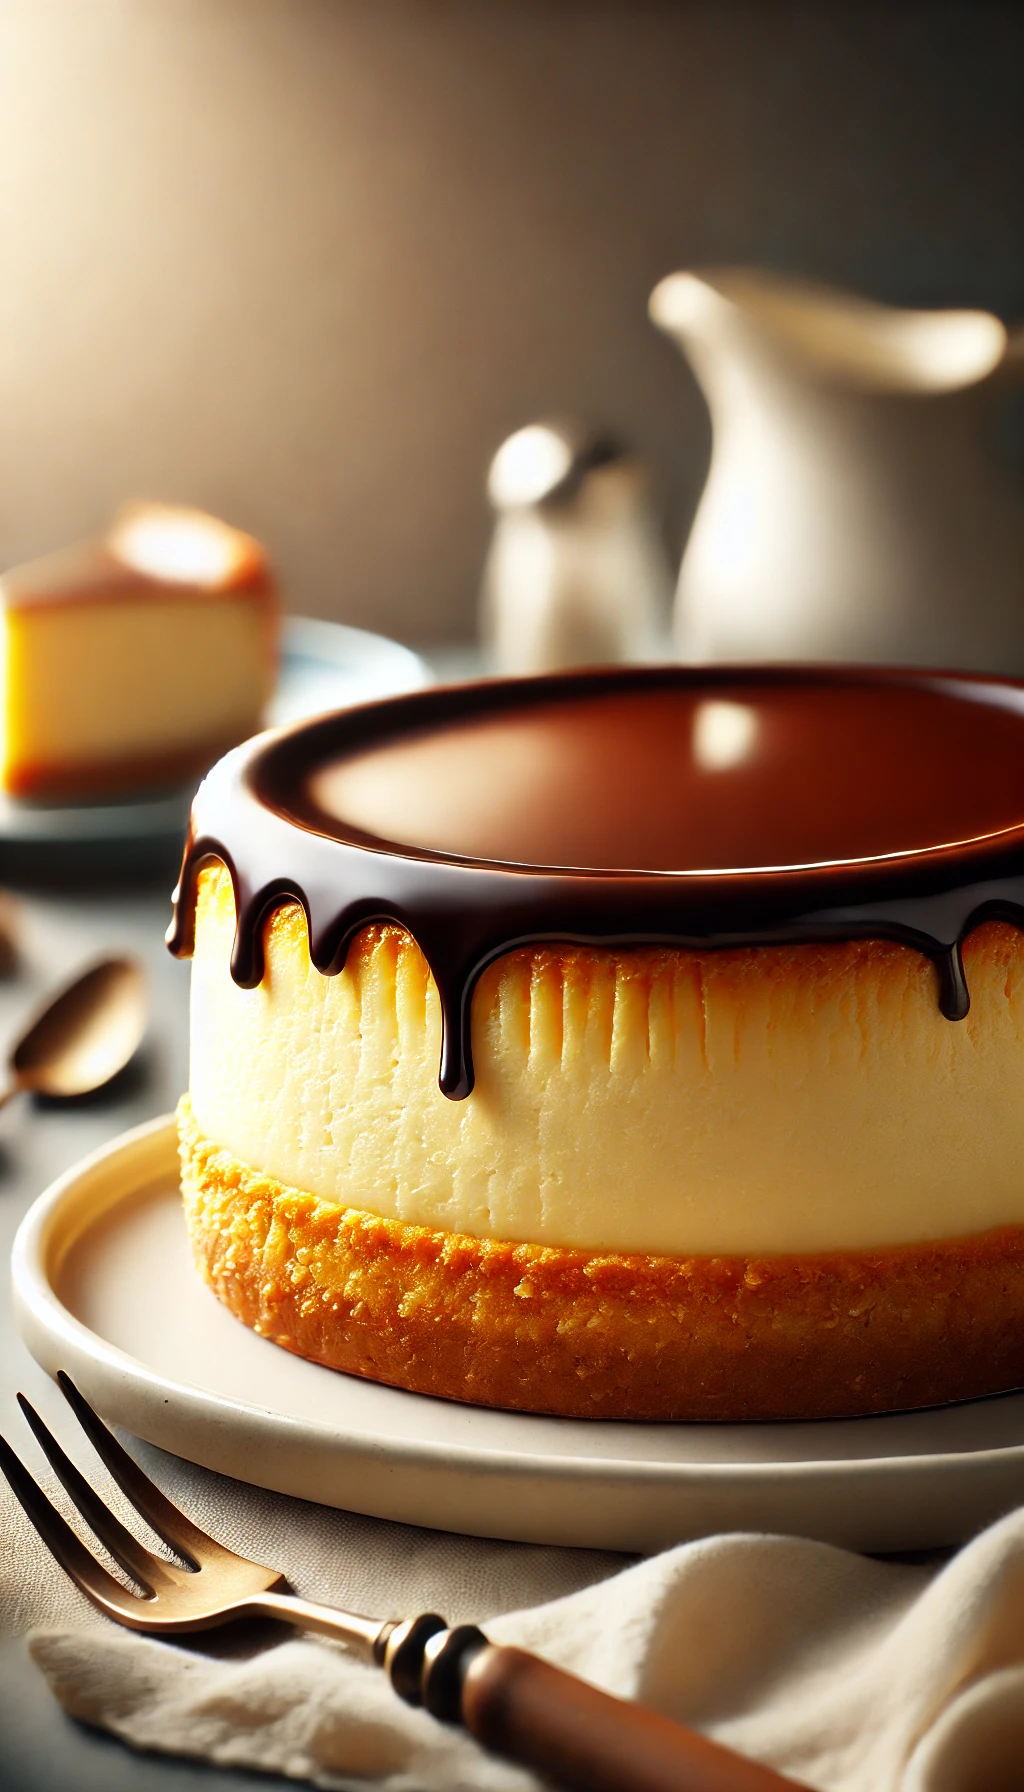
Boston Cream Pie and cheesecake are two iconic desserts that have earned their place in our hearts. But have you ever thought about combining the two? The result is nothing short of magical—a rich, creamy cheesecake sitting atop a crispy, buttery biscuit base, topped off with a smooth chocolate ganache.
This article will walk you through the process of making a Boston Cream Pie Cheesecake that’s so delicious, it’ll leave your guests asking for seconds. From preparing the crust to crafting the perfect custard filling and making the velvety chocolate ganache, we’ll cover every step. By the end of this guide, you’ll have all the tips and tricks you need to master this showstopper dessert. Plus, we’ll share some expert secrets that will elevate your baking game and ensure your cheesecake turns out perfectly every time!
Step-by-Step Guide to Creating the Base
One of the key components of this Boston Cream Pie Cheesecake is the base. It’s a crispy, buttery foundation that complements the smooth filling and rich chocolate topping. To get the perfect base, you need to start with the right ingredients: digestive biscuits or graham crackers, butter, and a bit of flour.
First, crush your biscuits or graham crackers into fine crumbs. You can do this by placing them in a sealed bag and using a rolling pin to crush them, or by pulsing them in a food processor. The finer the crumbs, the better your base will hold together. Next, combine your crumbs with flour—yes, flour! This little-known tip helps firm up the base and makes it less crumbly once baked. The flour also prevents the crust from being too soggy after the cheesecake filling is added.
Now, add melted butter to the mixture. The butter helps bind the crumbs together and gives the base that irresistible, rich flavor. Make sure to mix everything thoroughly so the butter is evenly distributed. Then, press the mixture into the base of your lined springform tin. You’ll want to spread it evenly, pressing down firmly to ensure the base stays intact during baking.
Once your base is in place, bake it at 160°C for about 10 minutes. This gives it just enough time to set, ensuring you have a firm base that won’t fall apart when you slice into the cheesecake later. After baking, let the base cool while you prepare the cheesecake filling. Trust us, taking the time to perfect the base will make all the difference in the final result!
Crafting the Perfect Creamy Filling
Now for the heart of the dessert—the creamy cheesecake filling! The filling is the key to achieving that perfect cheesecake texture, and getting it right requires a careful balance of ingredients.
Start by beating together cream cheese and sugar in a mixing bowl. Make sure the cream cheese is softened to room temperature so that it blends smoothly without lumps. You’ll want to mix it until it’s nice and creamy. Next, add in sour cream and a teaspoon of vanilla extract for that signature tang and flavor boost.
The next step involves adding eggs. It’s important to add them one at a time to ensure they are fully incorporated into the mixture. This will help prevent the filling from separating during baking. At this point, you can also mix in cornflour (cornstarch), which will help thicken the filling and prevent it from curdling when baked. Stir everything together until the mixture is smooth and velvety.
Once your filling is ready, carefully pour it over the cooled biscuit base. Don’t worry about smoothing it perfectly—it will level out as it bakes. Now, it’s time to bake the cheesecake. Bake for 40-45 minutes at 160°C, or until the edges are set and the center is slightly jiggly. This ensures that your cheesecake is perfectly cooked with that ideal cheesecake texture—creamy yet firm. Keep an eye on it, as over-baking can lead to a dry cheesecake. When the cheesecake is done, let it cool down in the oven with the door slightly ajar for about an hour. This helps prevent any sudden temperature changes, which could cause cracks in your cheesecake.
Making the Custard: Key Tips for Success
The custard is what gives this Boston Cream Pie Cheesecake its signature flavor and richness. But don’t be intimidated by the thought of making custard—it’s easier than you think!
To start, combine egg yolks, sugar, cornflour, and a pinch of salt in a saucepan. Gradually whisk in the milk, ensuring everything is well-mixed. Then, place the pan on medium heat, stirring constantly. The mixture will begin to thicken, and it’s important to keep stirring to avoid lumps.
Once the custard reaches a thick, smooth consistency, remove it from the heat and stir in a little butter. The butter adds a luxurious richness to the custard, making it the perfect complement to the cheesecake filling. After the butter has been incorporated, let the custard cool to room temperature before spreading it over the cheesecake.
When you spread the cooled custard on top of your cheesecake, it should be smooth and even. No need to stress about making it perfect—this custard is rich and thick enough to cover any imperfections. Once the custard is on, place the cheesecake back in the fridge to chill and set. Be patient, as the custard needs time to fully firm up. This will give you that signature Boston Cream Pie look and flavor!
Crafting the Ganache and Final Touches
Now, for the best part—the chocolate ganache! The ganache adds that glossy, rich chocolate layer that completes the Boston Cream Pie Cheesecake. To make the ganache, heat cream until it starts to steam, then pour it over chopped chocolate. Stir until the chocolate is completely melted and the ganache is smooth and glossy.
Allow the ganache to cool slightly before pouring it over the chilled cheesecake. Don’t worry if the ganache doesn’t fully cover the top—it’s meant to drip down the sides, creating that beautiful, tempting effect. If you prefer a more even layer, feel free to spread it out with a spatula. The key is to allow the ganache to set in the fridge for about an hour, ensuring it firms up into a delicious, smooth finish.
Once the ganache has set, your Boston Cream Pie Cheesecake is ready to serve! Slice it carefully to reveal the beautiful layers of crispy base, creamy filling, and luscious ganache. It’s a dessert that looks as impressive as it tastes!
Wrapping Up
Making a Boston Cream Pie Cheesecake is a rewarding experience, and with the right techniques, anyone can master it. The combination of a buttery biscuit base, creamy cheesecake filling, rich custard, and glossy chocolate ganache is truly irresistible. If you're looking for a showstopping dessert to impress friends and family, this is the recipe to try!
Remember, the key to success lies in the details. Take your time with the base, perfect the filling, and let the cheesecake chill thoroughly before adding the ganache. These little steps ensure you get the perfect result every time. Don’t forget to use high-quality ingredients, as they make a huge difference in flavor. Once you’ve made this dessert, it will quickly become a family favorite that everyone will ask you to make again and again.
If you're ready to give this recipe a try, check out the link below for more amazing dessert recipes to keep your baking skills sharp. The best part? You can impress your guests without spending hours in the kitchen!
Call-to-Action (CTA): Ready to bake the ultimate Boston Cream Pie Cheesecake? Click here to discover more dessert recipes and tips!
Key Takeaways
- Perfect Biscuit Base: Use crushed digestive biscuits or graham crackers with a bit of flour to create a firm, delicious base.
- Creamy Filling: Be sure to add eggs one at a time to prevent curdling and achieve a smooth filling.
- Rich Custard: Stir constantly while heating the custard mixture to prevent lumps, then add butter for extra richness.
- Glossy Chocolate Ganache: Pour melted chocolate over the cheesecake for a smooth, shiny finish that will wow your guests.
- Chill and Set: Don’t skip the chilling process! Allow the cheesecake to set in the fridge for optimal flavor and texture.
Second CTA: Craving more mouthwatering dessert recipes? Check out these irresistible treats and start baking today!
Actionable Step-by-Step Checklist
Category 1: Preparing the Base
- Crush digestive biscuits or graham crackers into fine crumbs.
- Mix the crumbs with 1-2 tablespoons of flour and melted butter.
- Press the mixture into the bottom of a lined springform tin.
- Bake at 160°C for 10 minutes and let it cool.
Category 2: Making the Filling
- Beat together cream cheese and sugar until smooth.
- Stir in sour cream and vanilla extract.
- Add eggs one at a time, mixing well after each addition.
- Mix in cornflour to thicken the filling.
- Pour the filling over the cooled base and bake for 40-45 minutes.
Category 3: Preparing the Custard
- Combine egg yolks, sugar, cornflour, and milk in a saucepan.
- Stir over medium heat until the mixture thickens.
- Stir in butter for extra richness.
- Let the custard cool before adding it to the cheesecake.
Category 4: Making the Ganache
- Heat cream until steaming, then pour over chopped chocolate.
- Stir until the ganache is smooth and glossy.
- Let it cool slightly before pouring over the cheesecake.
Category 5: Setting and Serving
- Allow the cheesecake to chill for at least 4 hours.
- Let the ganache set for about an hour in the fridge.
- Remove the cheesecake from the tin and slice to serve.
Outbound Link: For more baking tips and tricks, check out King Arthur Baking for expert advice and top-quality ingredients.